1. How to insert an image and how to have the image repeat itself horizontally and vertically or both.
2. This lesson will teach the learner what he or she needs to do in order to insert an image into Dreamweaver. Another part of this tutorial shows the student how to make you image repeat horizontally, vertically and both.
3. To start this tutorial you will need to already have working html/css page that has your headings and body sections of your web page. The image that you want to put on your website. This tutorial should take you about 5 minutes or less.
Steps
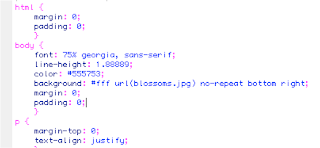
1. Open Dreamweaver and open you html/css document.
(Make sure you have a working html/css page that contains headings and a body section at least.) Make sure that your htlm/css sheets are in one folder
2. Now find the section called body in your html/css page
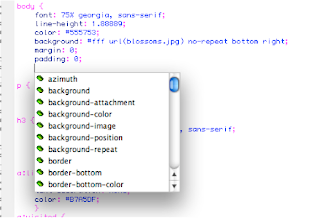
Now the beginning of the body section starts with this symbol { and the end is shown by this symbol }. You need to create a new line right above the } by going to the end of the line above it and pressing enter.
3. Once you hit enter a prompting box should come giving you the option of selecting background image.
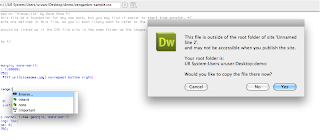
4. Once you have chosen the background-image option another box will appear and give you the option to browse choose browse.
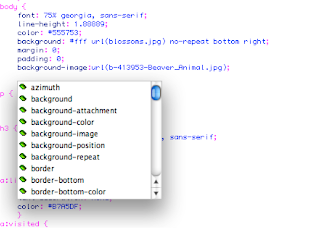
6. Your finished link should look like the example below. Make sure you are Adding ; this symbol at the end of the line so the computers knows that you are done.
We are almost there, now we will work on how to make the same image repeating it self either horizontally, vertically or both.
If you have already closed your Dreamweaver document that you work on above please go ahead and open it back up.
Steps
1. With you document open now find the body part of you html/css page.
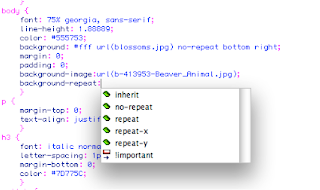
2. Press enter at the end of the line background-image. A Box will come up that you should recognize.
3. Click on background repeat; now here is were you get to chose if you want you image repeated horizontally, vertically or both.
4. Now you need to decide on were you would like you image to repeat it self.
(Below is a table that shows you the commands or value and a description of what each one does.)
5. Now that you have chosen to how you want it to repeat make sure you add (;) at the end letting the computer know that you are done with that action.
Here is an example.
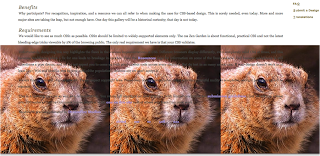
6. Now if you wanted to make your image repeat other directions please refer to the table that is above step 4. You would still type in background-repeat: repeat- at the same location as before just changing the ending of you line to instead saying repeat-x to another code such as repeat-y.
Conclusion
You did it, you know now how to add a picture to you web page and if you want to have it repeated how to do that.
If you have any questions or would like help send me an email at Firth343@hotmail.com




No comments:
Post a Comment